How to Schedule a Meeting in Microsoft Outlook
Whether you’re new to Microsoft Outlook or the meeting scene, you can schedule meetings in just minutes. Select or add your participants, keep track of who’s attending, and make changes before the meeting date.
For your next conference, kick-off, or update, here’s how to schedule a meeting in Outlook.

How to Schedule a Meeting in Outlook
When you want to schedule a meeting using Microsoft Outlook, you have a few different ways to display the new event window. Open Outlook and head to a spot below.
From Your Outlook Inbox
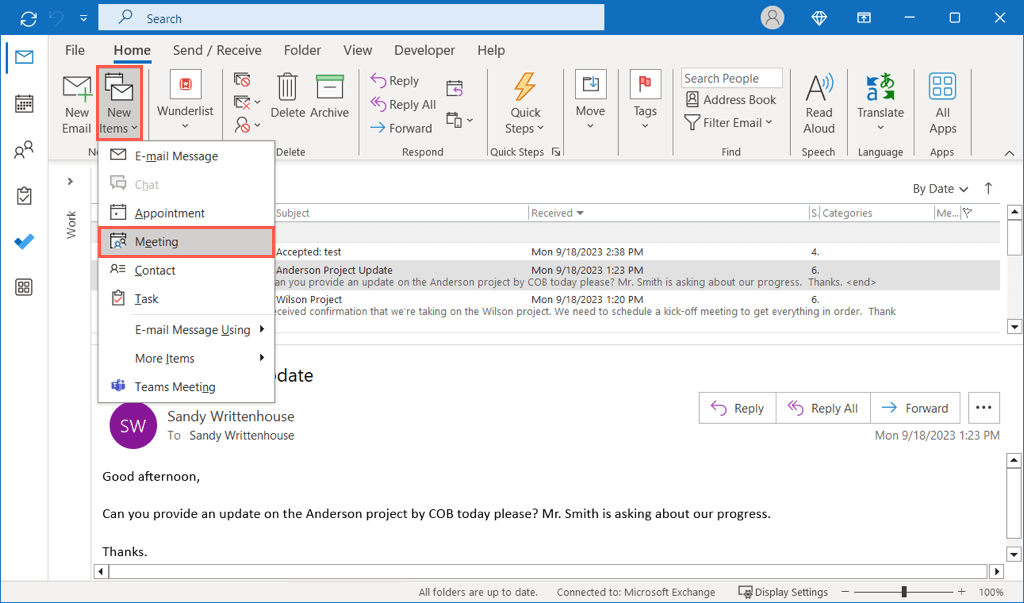
When viewing your inbox, go to the Home tab, open the New Items drop-down menu, and choose Meeting. You can also use the keyboard shortcut Ctrl + Shift + Q.
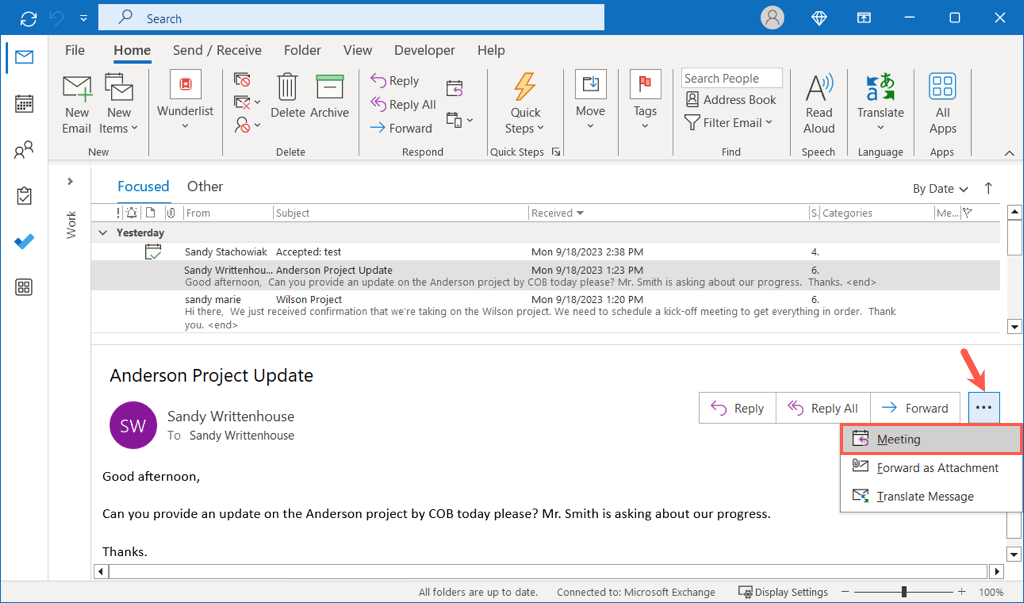
Want to create a meeting from a specific email in Outlook? Select the Other Actions button (three dots) on the message and choose Meeting.
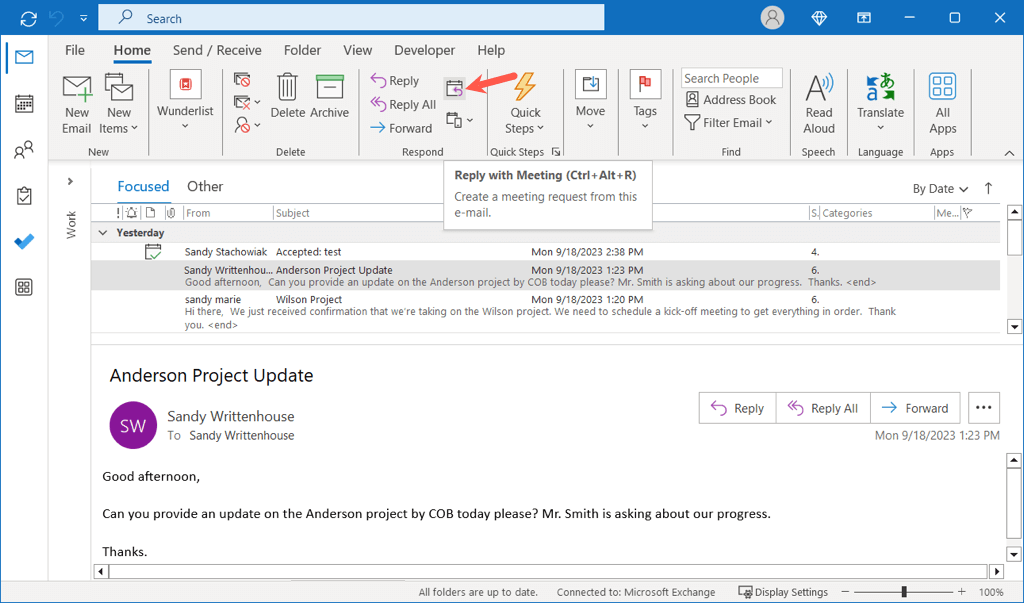
Alternatively, select the email, go to the Home tab, and choose Reply with Meeting in the ribbon or use Ctrl + Alt + R.
From Your Outlook Calendar
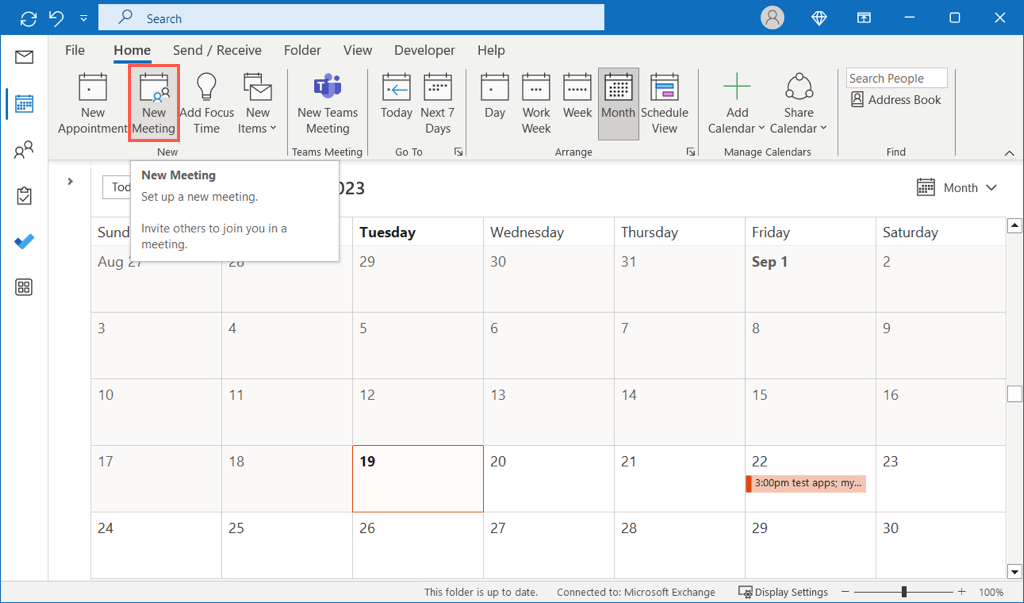
If you’re viewing your Outlook Calendar, go to the Home tab and select New Meeting in the ribbon. You can also use the keyboard shortcut Ctrl + Shift + Q.
Alternatively, choose the date you want to use and right-click the time. Select New Meeting Request or New Recurring Meeting per your preference.
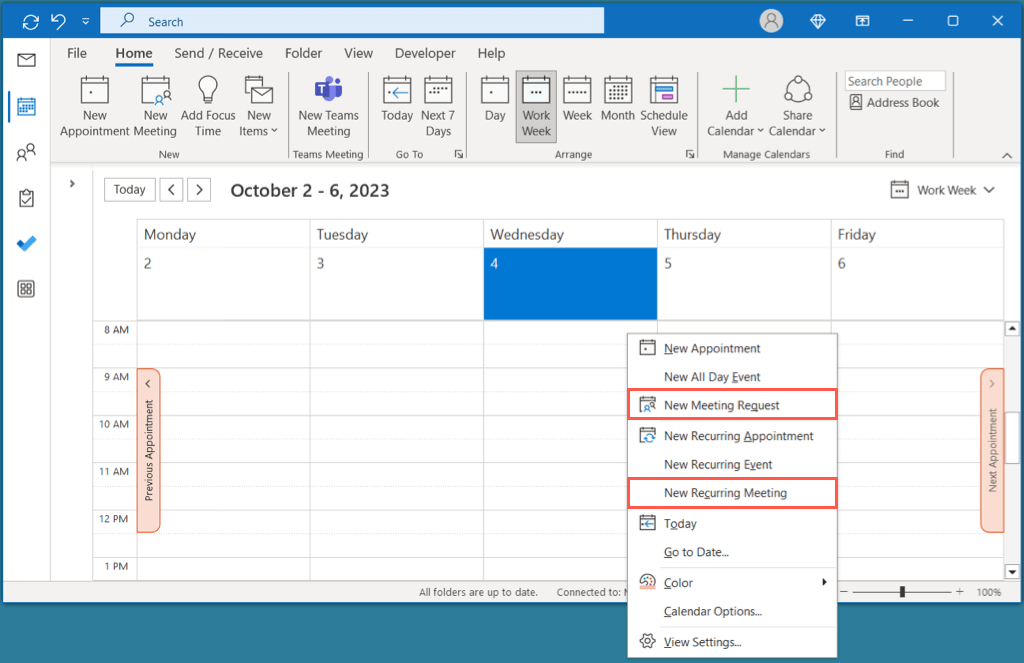
Note: If you double-click the time in a calendar view, this creates an Appointment rather than a Meeting by default.
Enter the Meeting Details
Once the new meeting window opens using one of the above methods, you can add the details in any order.
- Enter the Title, select the Start and End meeting times and optionally pick the time zone, or check the box for an All Day meeting. You can also enter a location or link to an online meeting, or use the buttons for Location or Room Finder if you have these types of items saved.
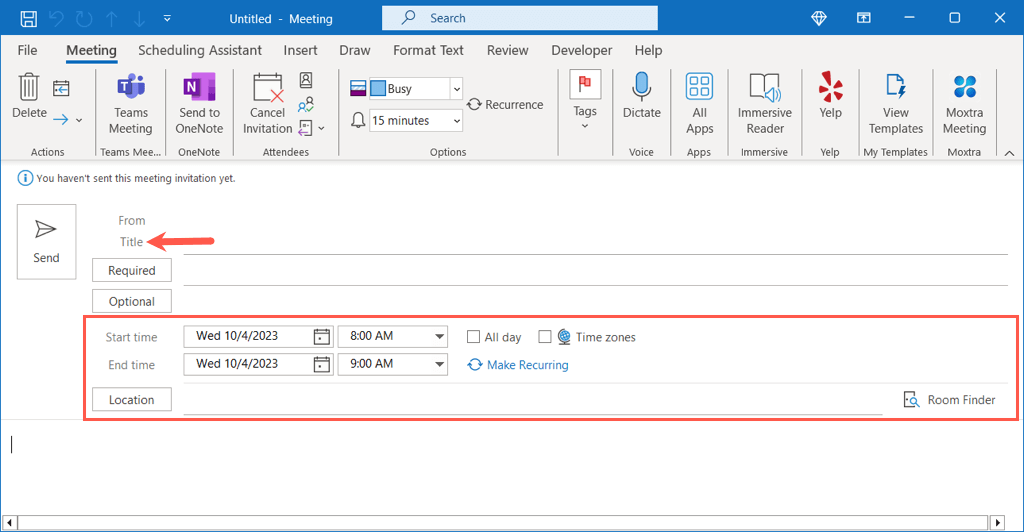
- You can also make the meeting repeat, which is handy for meetings you plan to have on a regular basis. Select Make Recurring (unless you chose New Recurring Meeting above).

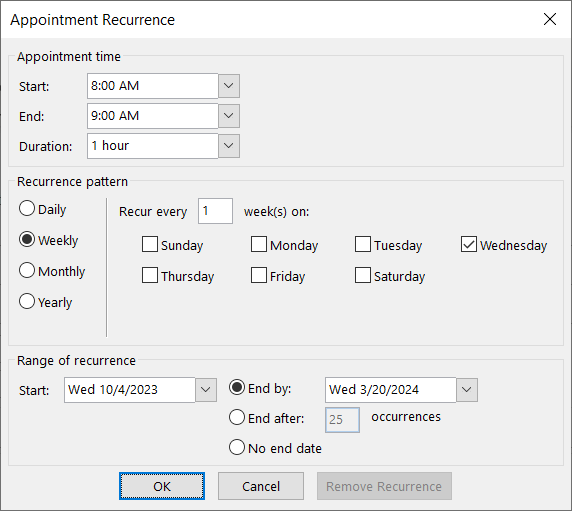
- Then, pick the Start and End times, the recurrence pattern, and the range of the recurrence. Choose OK when you finish to pop this information into the meeting window.
- If you’d like to attach a file, insert a picture, schedule a Microsoft Teams meeting, or draw an illustration, use the additional tabs and ribbon options at the top.

How to Add Attendees
Similar to creating the meeting in Outlook, you have more than one way to add attendees. You can include the participants at any point during the meeting setup. To invite attendees after you schedule the meeting, head to the following section.
Enter Meeting Attendees
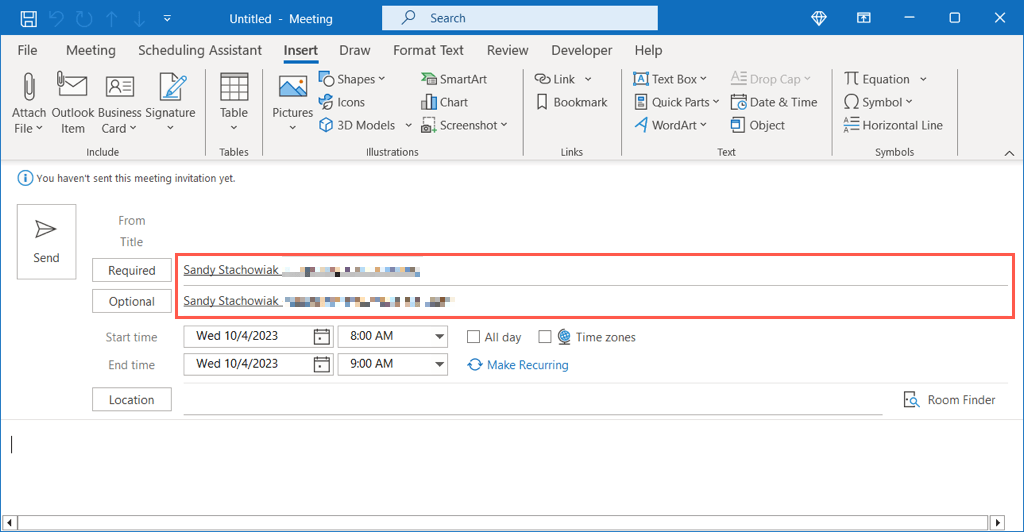
You can quickly add attendees to your meeting by entering their names or email addresses next to Required (those who must attend) or Optional (those who may attend) at the top of the window.
- To add participants from your Outlook address book, select the Required or Optional button.

- In the pop-up window, choose an Address Book at the top if you have more than one. Then, select a contact and use the Required or Optional button at the bottom to add them to the meeting.

- Choose OK, and you’ll see the contacts added to your meeting request.
Use the Scheduling Assistant
Another way to add meeting attendees is to use the Scheduling Assistant. This feature is available to Microsoft 365 and Exchange account users.
Go to the Scheduling Assistant tab and do one of the following:
- Enter the names or email addresses below All Attendees on the left. You’ll notice sections for Required Attendee and Optional Attendee, so be sure to enter the name(s) in the correct area(s).
- Select Add Attendees in the ribbon to choose participants from your address book.
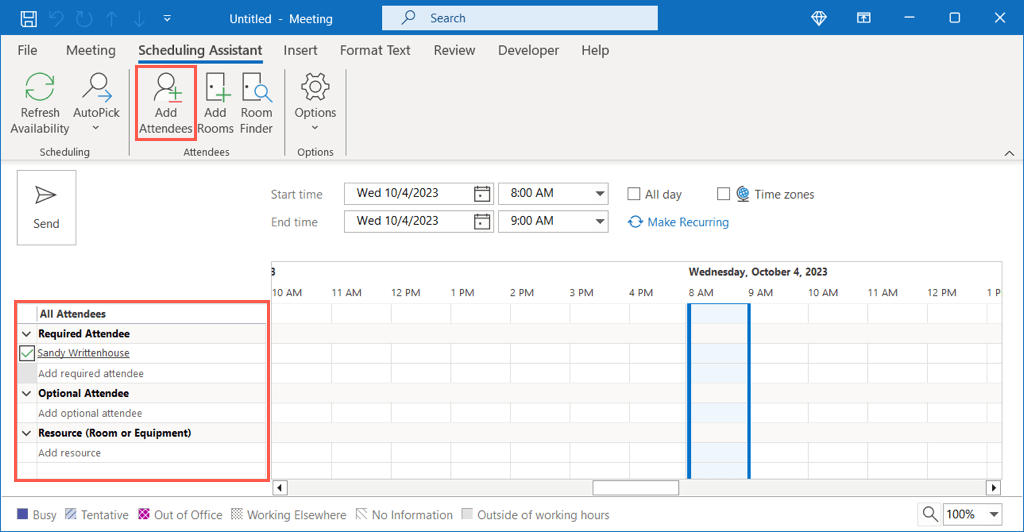
When you finish using the Scheduling Assistant, select the Meeting tab to return to your meeting setup.
How to Track Attendees
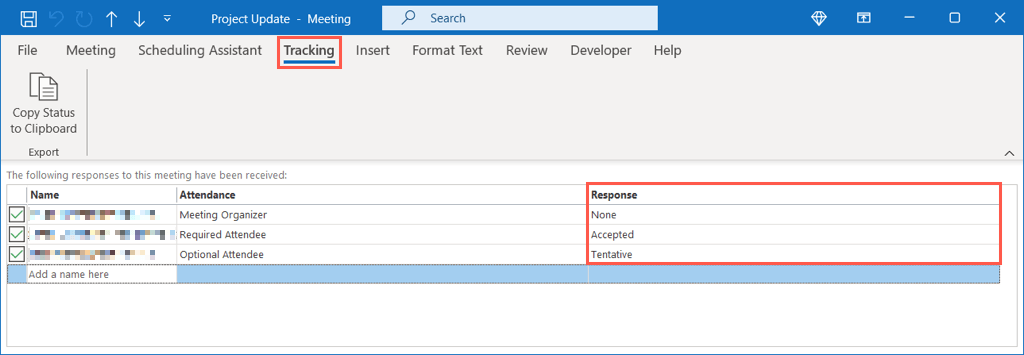
To see who has accepted, declined, might join (tentative), or has not responded to your meeting request, head to the Calendar in Outlook.
Double-click the meeting to open it and go to the Tracking tab. You’ll see each invitee, if they are Required or Optional, and their Response to your meeting invitation on the right.
How to Edit Existing Meetings
Things come up all the time that may require you to change a meeting you’ve scheduled. As examples, you may want to add or remove attendees, change the date or time, or include a file.
- Select the Calendar icon in the left-hand navigation and double-click the meeting on your calendar to open it.
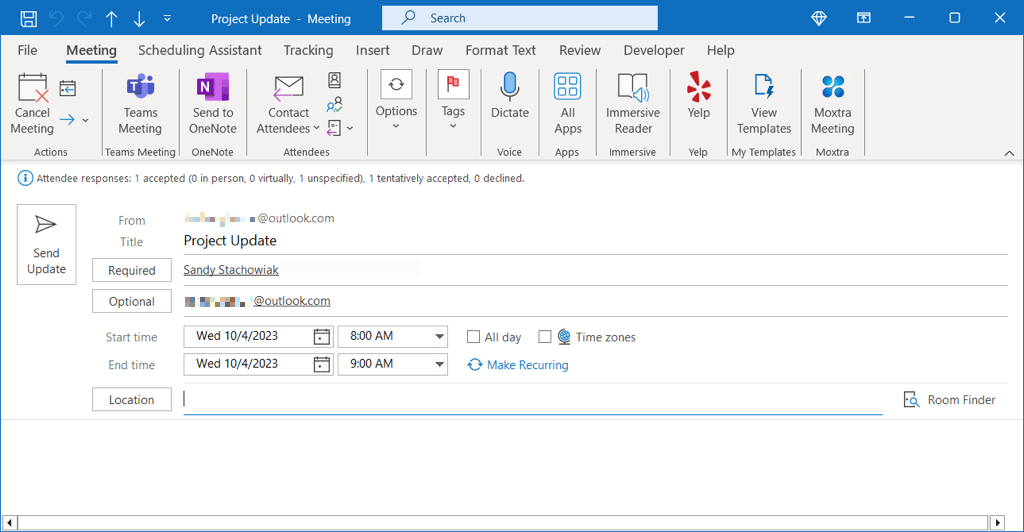
- You can add attendees as described above by entering their name or email address, using the Required or Optional button, or with the Scheduling Assistant. You can also remove a participant by deleting their name next to the Required or Optional field.
- Make any other changes to the event as needed and select Send Update when you finish.

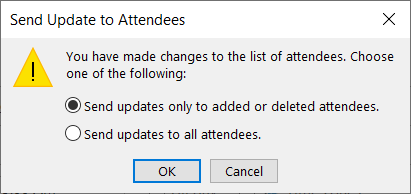
- Depending on the changes you make, you may be asked if you want to send updates to added, deleted, or all attendees. Pick an option to send your update.
Edits for Non-Meeting Organizers
If you’re not the meeting owner but want to update the event by adding more participants, this is an option.
- To add an attendee, open the meeting on your calendar and go to the Meeting tab. Either select the Forward drop-down menu in the Actions section and choose a Forward option or select the Respond drop-down menu and pick Forward.

- Choose the attendee from your address book or enter their name or email address in the Required or Optional field and hit Send.
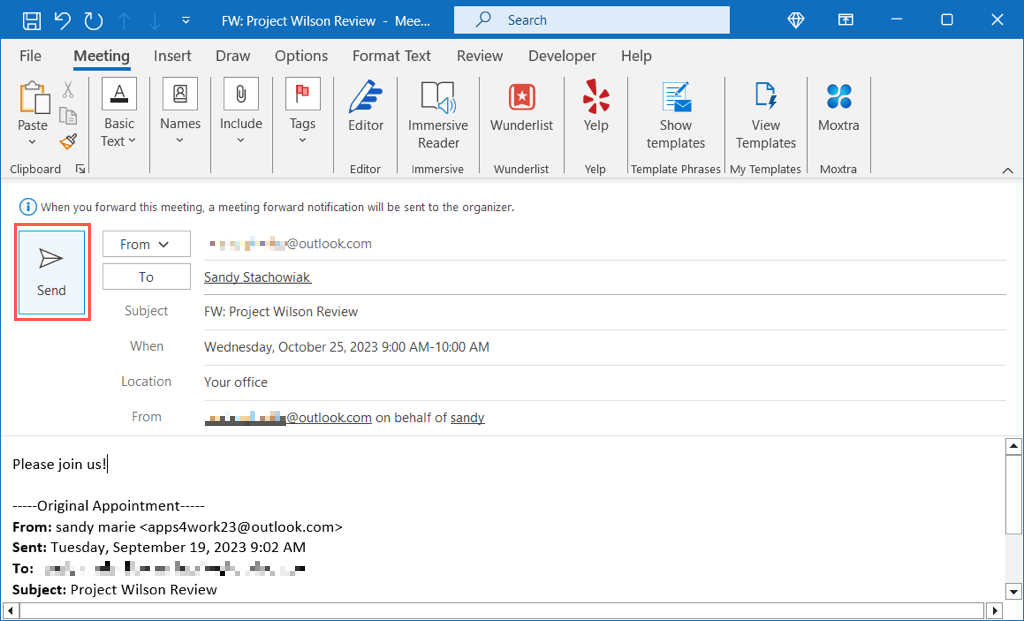
- The meeting organizer will receive a notification that you forwarded the meeting to another person and should see any other changes you made.
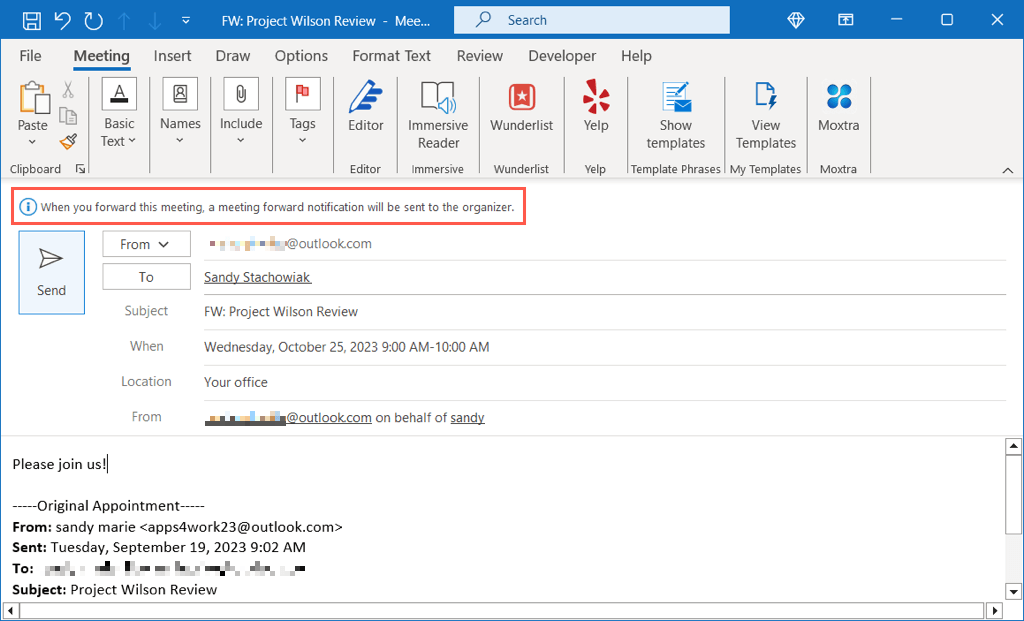
Note: If the meeting organizer disabled forwarding, you cannot send the meeting request to another participant.
How to Start Late or End Early
Outlook for Microsoft 365 provides a convenient feature for automatically starting meetings late or ending them early. This is helpful for giving everyone a few extra minutes between meetings.
- Select the File tab and choose Options. Then, pick Calendar on the left of the Calendar Options window.
- On the right, go to the Calendar Options section and check the box for Shorten appointments and meetings. Use the drop-down menu to pick End early or Start late.

- Then, choose the number of minutes for meetings less than one hour long and meetings one hour or longer.

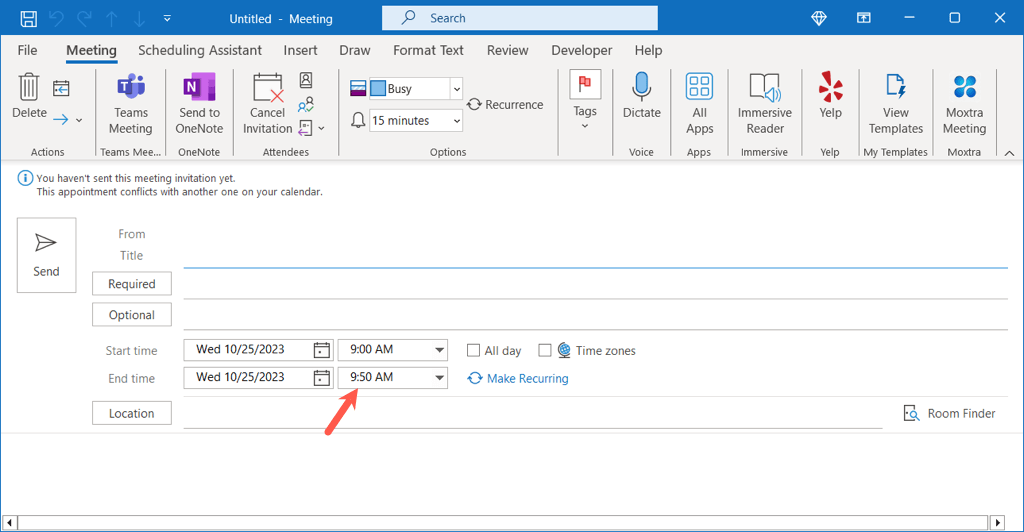
- Select OK when you finish. You’ll then see the Start time or End time automatically update to accommodate the selected timing when you create a new meeting.
Get Ready to Meet
Setting up a meeting in Outlook is easy to do. You can add multiple attendees, attach items, and make changes before the meeting if needed.
Now that you know how to schedule a meeting in Outlook, check out how to add Zoom to Microsoft Outlook for video calls.
Source : How to Schedule a Meeting in Microsoft Outlook


Comments
Post a Comment