How to add grammarly to microsoft word | Premium Account – Detailed
In this article, we will talk about How to add Grammarly to Microsoft word step by step. We have added the video at the end of this article so that you can watch and understand every step properly.
Step 1: Sign Up for a Grammarly Account.
- In the Search type Grammarly or Click here.
- Open the website.
- Click on Login on the top right side.
- Now you will get the Sign-in page.
- Click on I don’t have an account.
- Click on the Email box to sign up with your Email Address.
- Either you can sign up with Facebook Account, Gmail Account, or Apple ID.
- Once you Signed Up log in to your account.
Read More :
Top 10 best free image editing software
How to use facebook and facebook privacy settings
QUICK AND EASY To block spam email
Step 2. Setup Grammarly Account.
- Once you signed Up and login into your Account.
- You will get a screen to set up your writing Need out of School, Work, and other Projects.
- You can select the purpose of creating the account or you can click on Skip Personalization.
- Afterward, it will ask you to select the Play between Basic or Premium.
- If you are looking to do Business work then I must say you have to select Premium Feature.
- If not then you can continue with Free Plan as well.
- But I must say Premium Account has all features to Level up your Grammer Correction including the Sharpness, Detailing and Expression of suggesting correct work.
- Once you select your Plan.
- You will get the screen of the Demo Document and the Quick Tour of Grammarly.
- Click on Skip or you can start the Tour to Explore features of Grammarly.
- Soon we will update the video on How to use Grammarly so do not forget to watch the video on our Youtube channel.
Step 3. Download Grammarly For Microsoft.
- Once you Logged in to your Account.
- You will get three Dash on the Top left or few Options on the left side.
- If it’s three Dashes then click on it and you will get the options.
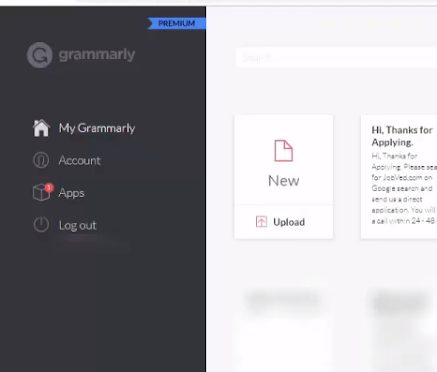
- Click on Apps.
- You will get the screen to install Grammarly for Microsoft.
- Click on Install and Open it.
- You will get the Welcome Screen to Get Started for installing Grammarly to Microsoft Word.
- Once you click on Get Started.
- It asks you to select the Products you want to install Grammarly like MS Work or MS Outlook.
- Unselect the Option as per your Requirement.
- And click on Install.
- Once it is installed. Open the MS Word.
- On the top Options, you will get Grammarly Next to View.
- Click on Grammarly.
- You will get the option to log in Grammarly Account.
- Click on Login and sign in with the account you have used to sign up Grammarly.
- Once you log in, click on Open Grammarly to use Grammarly.
- Afterward, you can use Grammarly in Microsoft Word.
- If you want to know more about the features that how it looks like when you install Grammarly and what are the options you get if you have Premium Account then watch the video given below,
The post How to add grammarly to microsoft word | Premium Account – Detailed appeared first on Tezadvise.com.
Appear first on : Tezadvise.com
Source Tezadvise.com


Comments
Post a Comment