How to Indent Cells in Microsoft Excel
If you’re trying to figure out how to indent cells in Excel, you’ve come to the right place. Want to indent from the right instead of the left? Need to indent more than one level? Here are four different ways to indent in Microsoft Excel.
Use the Ribbon to Indent Cells
One of the easiest ways to indent cells is using the Alignment section of the ribbon in Excel. This allows you to indent from the left side of the cell as many levels as you like.
- Select the cell containing the data you want to indent and head to the Home tab.
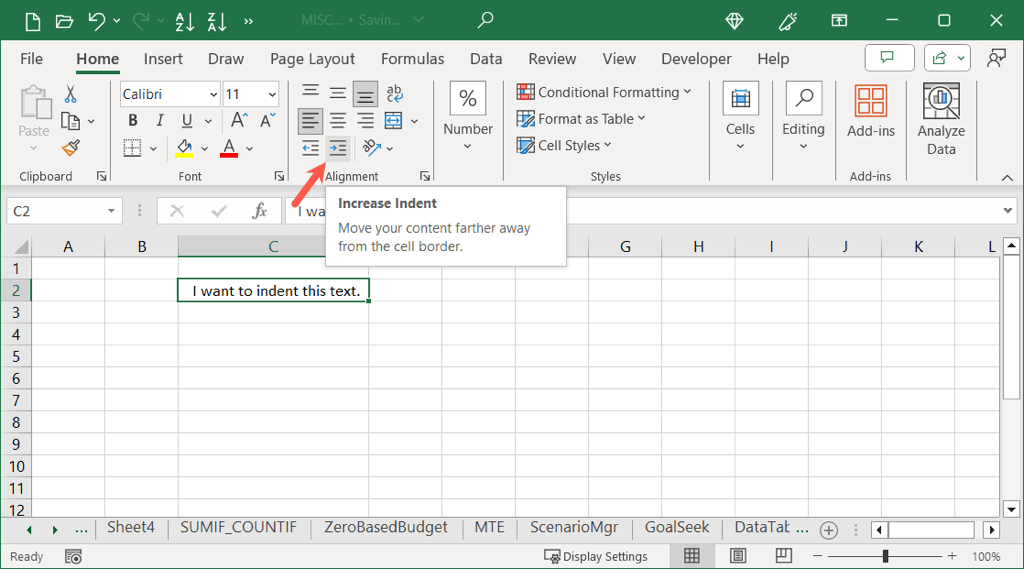
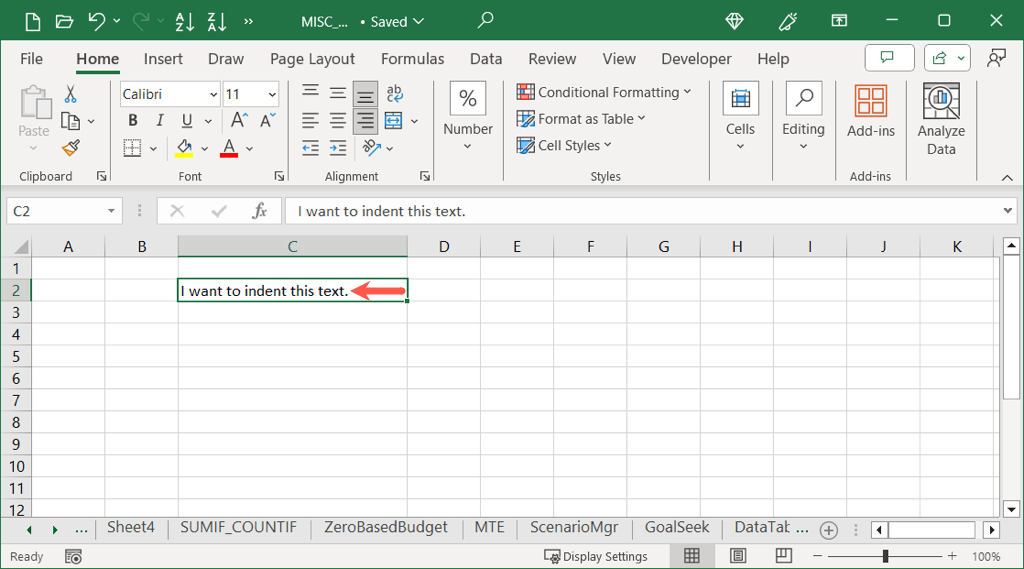
- In the Alignment group, use the Increase Indent button to indent one level.
- You can increase more than one level by continuing to select the Increase Indent icon.
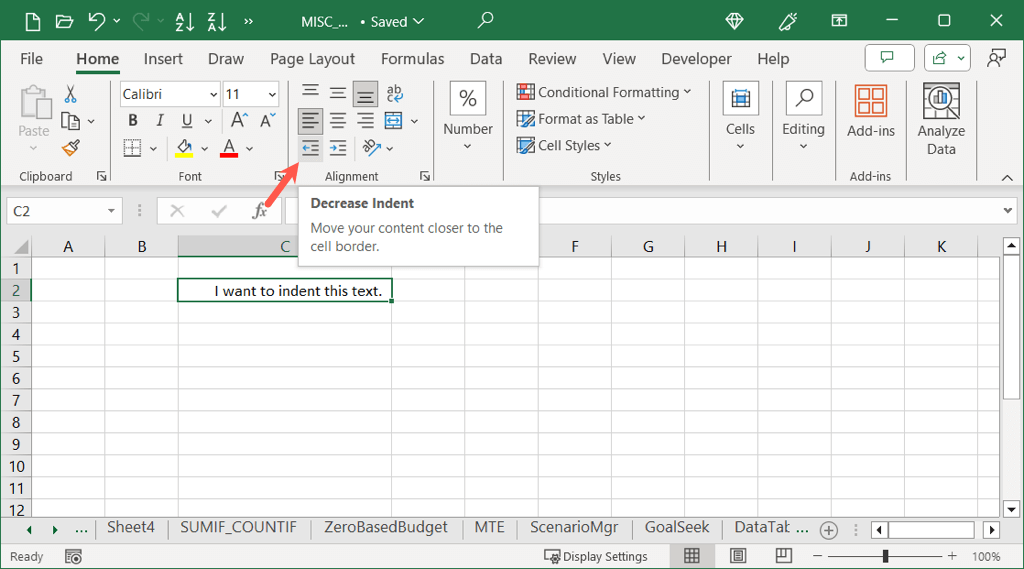
- To decrease the indent, simply use the Decrease Indent button.
Use the Format Cells Feature to Indent Cells
If you prefer to indent a cell from the right side or want a larger level size, you can use the Format Cells dialog box.
- Select the cell you want to indent and do one of the following:
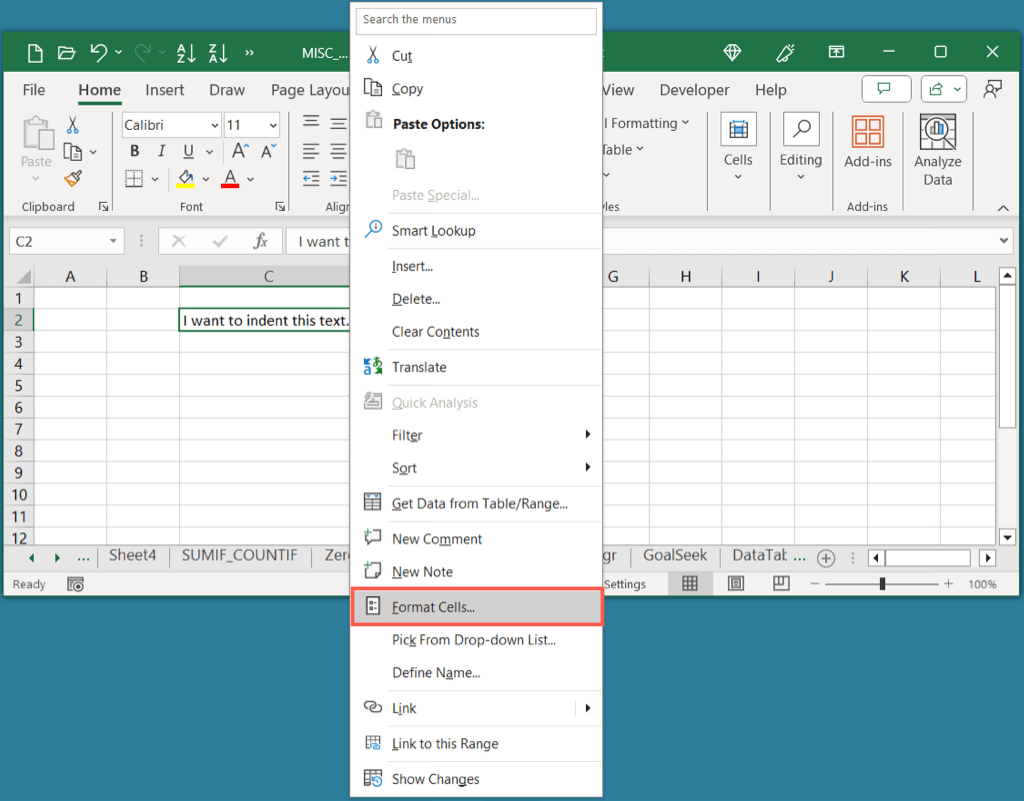
- Right-click and choose Format Cells.
- Use the small arrow in the lower right corner of the Alignment section on Windows.
- Select Format > Cells from the menu bar on Mac.
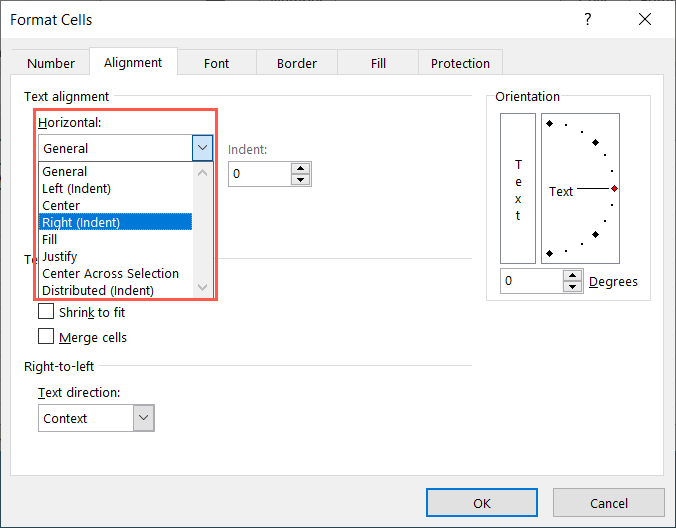
- When the Format Cells dialog box opens, confirm that you’re on the Alignment tab.
- Use the Horizontal drop-down box to choose one of the indent options from Left, Right, or Distributed per your preference.
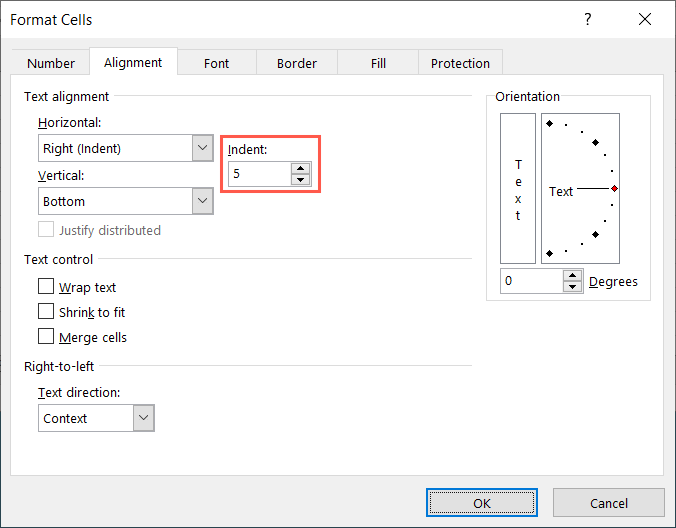
- Enter a number or use the arrows in the Indent field to the right to specify the indent level.
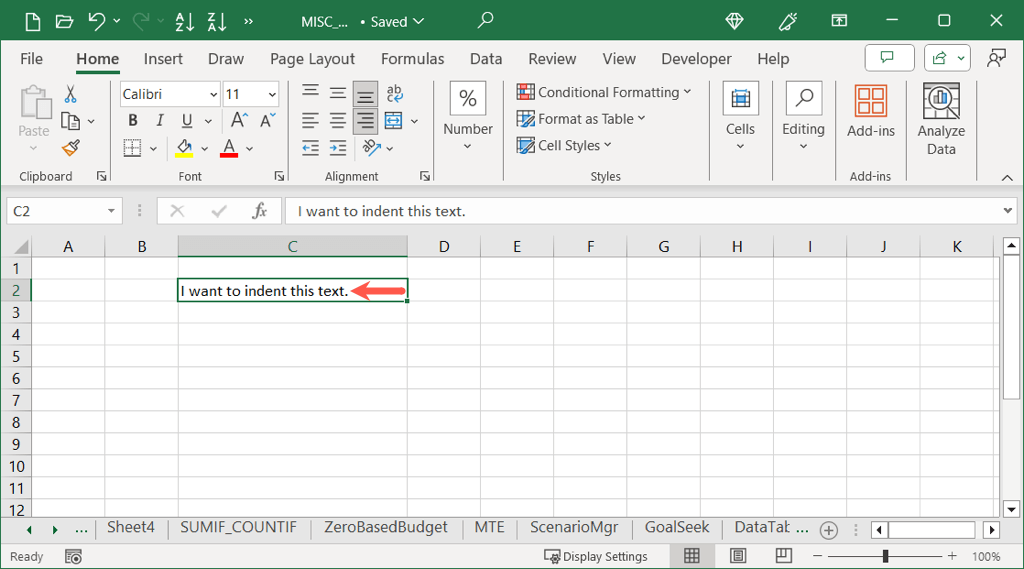
- Select OK to save your change, and you should see your cell indented per those settings.
Use a Keyboard Shortcut to Indent Cells
Do you like using Excel shortcuts to perform actions quickly? You can use a keyboard shortcut to indent text in a cell on both Windows and Mac.
Windows: Use the key combination Alt + H + 6 to indent one level from the left or Alt + H + 5 to decrease the indent.
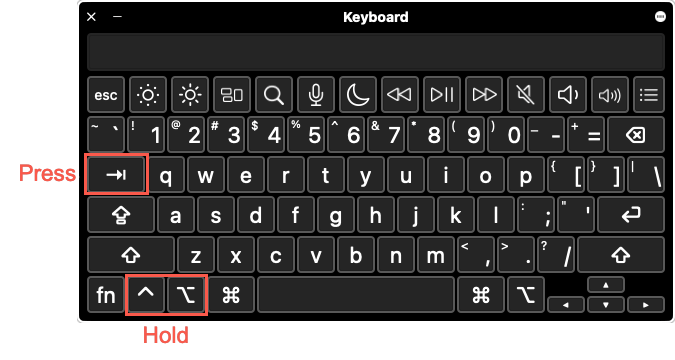
Mac: Use the keyboard shortcut Control + Option + Tab to indent one level left from the left or Control + Option + Shift + Tab to decrease the indent.
On either platform, you can hold the modifier keys and continue pressing the last key to increase or decrease the indent levels. For example, on Mac, hold Control + Option while you keep pressing Tab to increase the indent one level at a time.
Use Spaces to Indent Cells
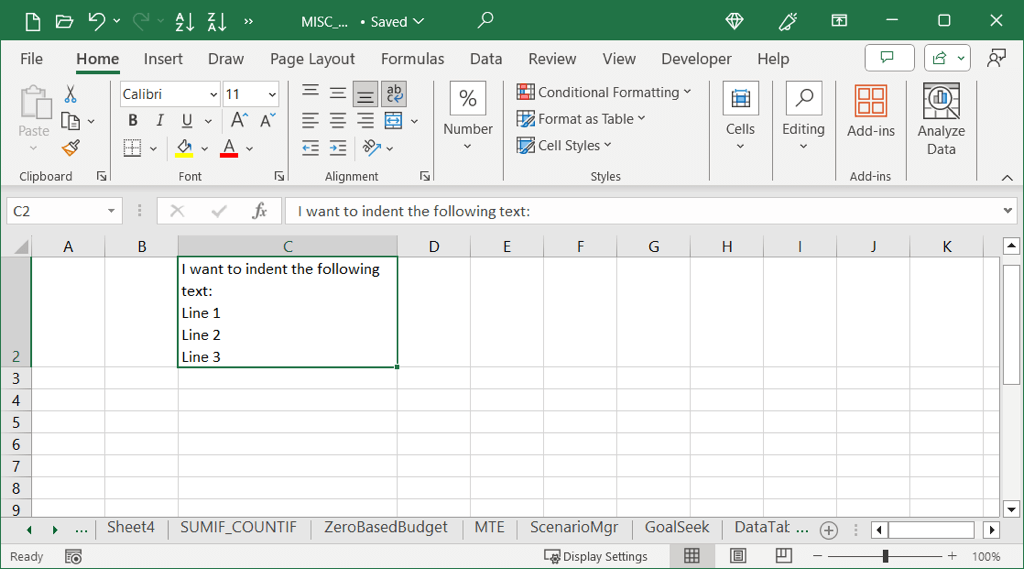
This final method for indenting on Excel is using your Space key. While not necessary if you want to indent all cell contents, it is required if you want to indent individual lines in the same cell. This is useful if you have separate lines of text as list items or an outline.
As a refresher, you can insert line breaks in a cell using a keyboard shortcut. Place your cursor in front of the word for the new line. Then, on Windows, use Alt + Enter, or on Mac, use Command + Return.
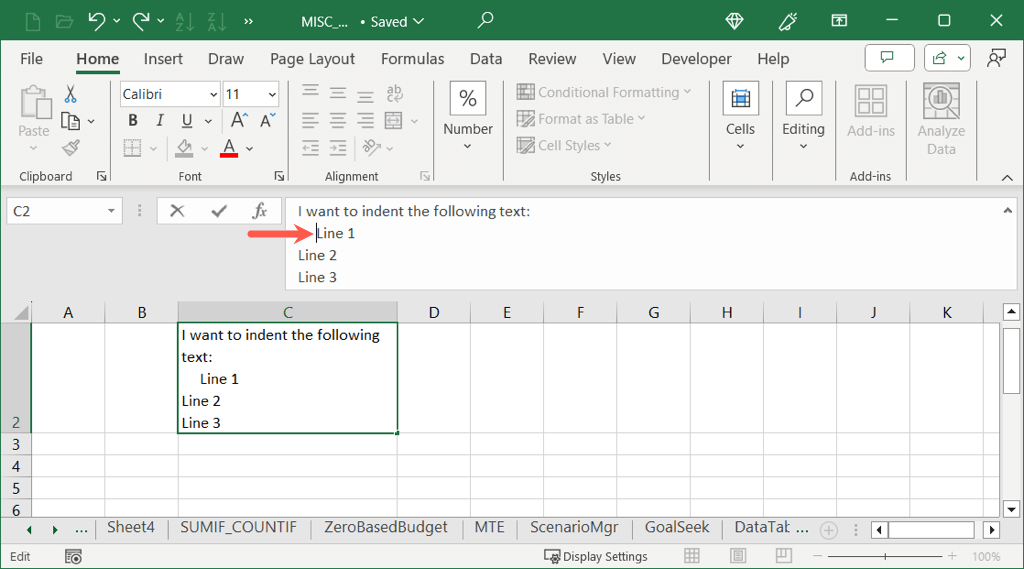
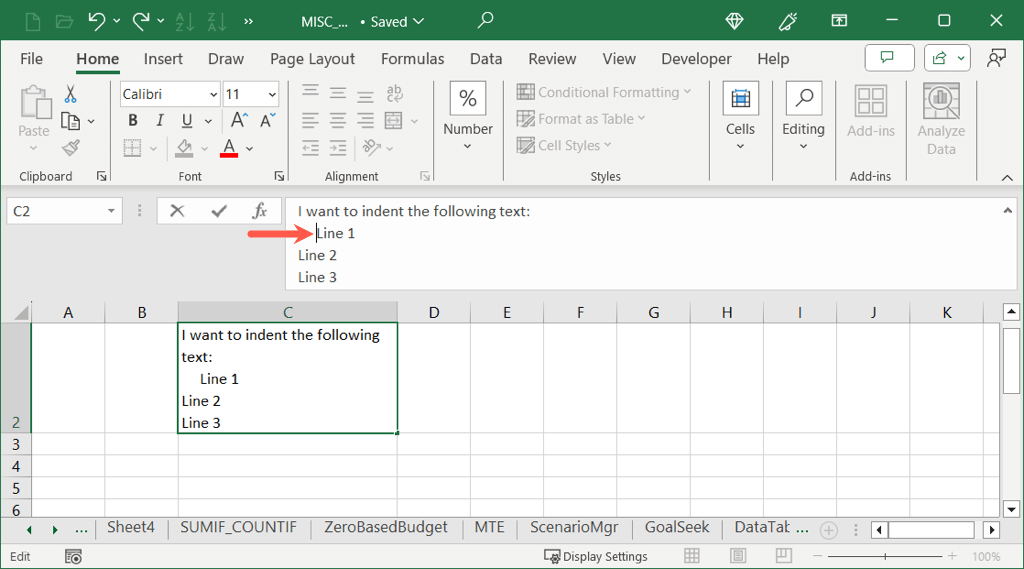
- Select the cell with the lines you want to indent and place your cursor at the beginning of the line. You can do this in the cell itself or the Formula Bar at the top of the sheet.
Tip: If you don’t see the Formula Bar, go to the View tab and mark the Formula Bar checkbox.
- Then, use the Spacebar to insert as many spaces as needed at the start of the line. You can do the same for the other lines of text in the cell as needed.
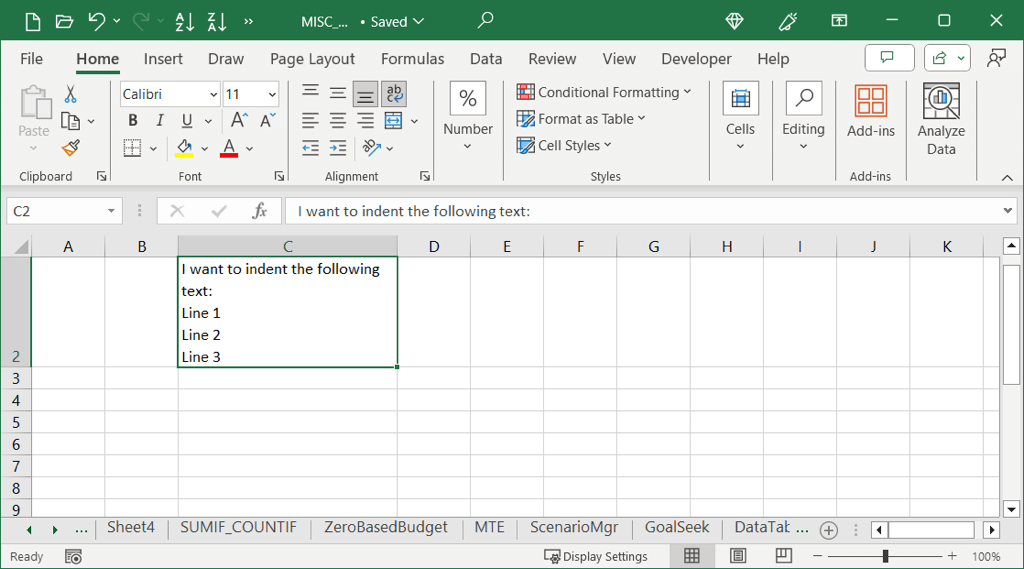
- When you finish, use Enter or Return to apply the change.
Formatting in your Excel spreadsheet is a common action because you want to display your data in an easy-to-read way. If that means indenting a cell, we’ve shown you four simple ways to get it done.
Now that you know how to indent in Excel, why not look at how to fix a hanging indent in Microsoft Word.
Source : How to Indent Cells in Microsoft Excel
Comments
Post a Comment